This example shows how to create a Hole feature on a non-planar surface.
On the Feature toolbar, click Hole ![]() or choose Insert→Design Feature→Hole.
or choose Insert→Design Feature→Hole.
In the Hole dialog box, from the Type list, select General.
On the Selection bar, make sure Existing Point ![]() is selected.
is selected.
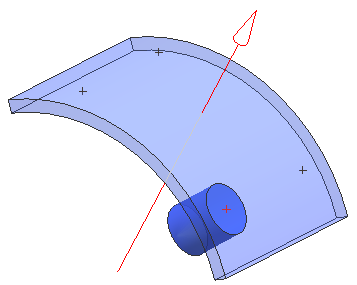
In the graphics window, click an existing point on a curved surface.

In the Direction group, select the hole direction.
For this example Normal to Face is selected.
|
|
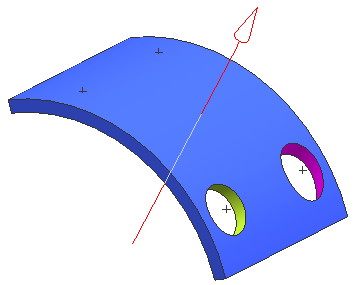
Click OK to create the Hole feature.
To change the hole direction, in the Direction group, select Along Vector.
For this example the Datum Axis is selected.
|
|
|
|